

Your first lesson as and ESL teacher can be daunting, like any first day at a new job, except this time you’ve probably not been given much of an orientation. In fact when I first arrived in China and asked the school what they wanted me to teach in my lessons the reply I got was simply; “Have fun, play games.”
No topics, no vocab, nothing! From talking to other teachers this is a pretty common instruction and it can leave you feeling a bit lost. Luckily during my first week in Sanxiang me and my fellow interns bumped into a foreign teacher (and now good friend) who had been working at the school for a while and he gave us a few ideas on how to introduce ourselves to our new students.
My introduction lesson hasn’t changed too much since February 2018, slight adjustments are made based on equipment available, age group and proficiency level but the bones of the lesson are always the same. Broken down into four steps it looks like this:
1. Warm up
2. Gauge Proficiency Level
3. Productive Activity to get Students Talking
4. Cool Down
If you are struggling to think of what to do in your first lesson as an ESL teacher I hope this can act as a guide to help you create a fun and interactive lesson plan that will allow your students to get to know you and you them. This lesson plan is aimed at the younger end of the young learner scale as that is the area I have the most experience in but I am working on a guide for middle school and also adults too so look out for those in the future.
Step 1: Warm Up
I always start my first lesson with a game involving the students names. This allows me to have a bit of fun with the students and while it is most likely that I won’t remember 90% of the names (currently I have around 800 students) it helps them to relax into the lesson as everyone knows their own name.
For grade one this year we started with a really simple little song.
Teacher: Bumble bee, bumble bee
Can you sing your name for me?
Student: My name is ________.

The best way to do this is to model it first. If you have another teacher in the class get them involved and sing the song with them, if not sing it to yourself. Something you have to remember when teaching ESL is there is no time to get embarrassed so put on a funny voice, make over dramatic movements and make them laugh! Encourage them to sing their name back to you or put on a funny voice too.
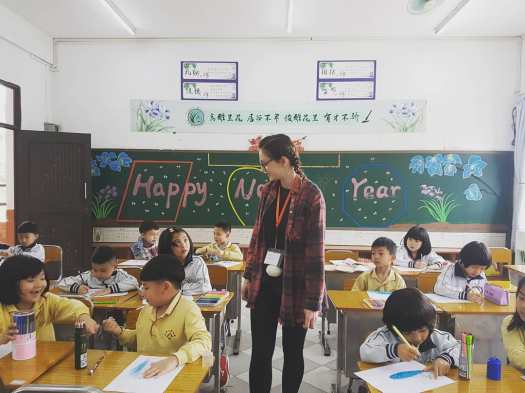
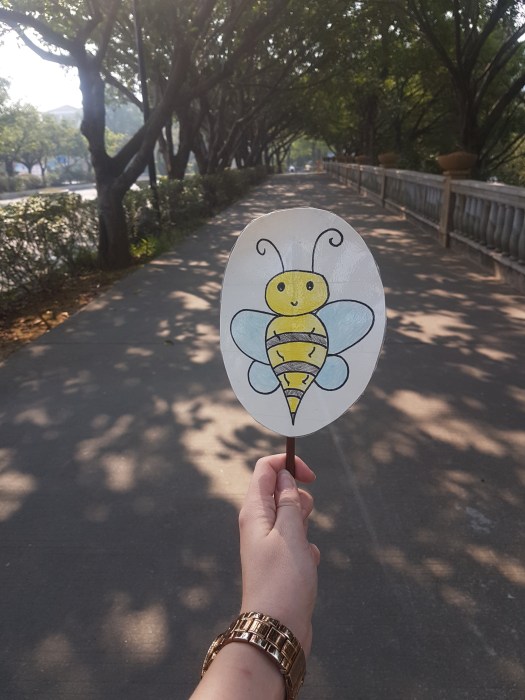
This song went down so well with the students, almost every hand was raised wanting to be the next little bumble bee. Some classes sang along with me as I walked around the class which really added to the fun and I made myself a little bumble bee prop to “land” on which ever student I chose to speak/sing.
Step 2: Gauge Their Proficiency
You might show up to your school and find that they can tell you exactly what level the students are at in their English proficiency but then again you might not. Even if you are told a level I find it is always best to test your student’s knowledge in the first week as it will help you to plan your lessons going forward. The best way to do this is to include a variety of beginner level vocabulary in your lesson and see how the students react to it as you go. You could focus on colours, animals and shapes to begin with and then try to add more complete sentences using “like” and “don’t like”, for example, if the class is finding the vocabulary manageable.

I like to give my first lesson a bit of a Scottish theme as we have a lot of cultural quirks that can be quite amusing for young learners (men in skirts being number one on the giggle scale). We also have a good range of animals; some that beginner students should know, some that they might know and some that only a few students might be able to guess.
In China I have a smart board to present this vocabulary on, in Myanmar I had flashcards and my laptop at the language centre and at the international school I only had a white board and occasional access to a printer (mainly because I was too shy to ask for help… not acceptable Aileen)! Whatever your resources the method is the same.
First I start with a map of Scotland (you can obviously replace this with your country or the students home country depending on your preference).
Then I ask the students “What can we see in Scotland?” and start presenting the vocabulary. Students should reply with “I can see ____.” I mix it up so it’s not in any particular order but for this example I will list them in what should be easiest to the most difficult:
– Bird
– Cow
– Flower
– Deer
– Sheep (this sometimes gets answered as goat but I don’t accept that answer because of what comes later in the lesson)
– Squirrel
While presenting the vocabulary ask them questions about what they can see to get an idea of what they understand e.g. “What colour is the flower?”, “How many sheep do you see?”, “What animal do you like?” and so on. If a student can’t answer the question remember to be encouraging and say “nice try” rather than “no, you’re wrong.”
Because of my Scottish themed lesson the last piece of vocabulary I present to the class is monster. I show them a cartoon image of Nessie (the Loch Ness Monster) and ask them “What can you see?” The usual answer I get is snake to which I say “Nice try but it’s bigger than a snake!” while throwing my arms wide to emphasise the word bigger. The next answer I usually get is alligator and again I reply “Nice try but it’s bigger than an alligator!” which is often met with whispers as the students try to think of something bigger than an alligator.

There will occasionally be a student who knows the word monster but if no one is getting it I put the word on the board and as a class we chant “monster” together. As we are chanting I walk around the room and at random I’ll put on a funny monster voice and make my hands into claws to demonstrate the meaning of the word monster. When I get back to the front of the class I say “Show me your monster!” and get them to shout monster as loud as they can while pretending to be a monster.
You can substitute the Monster for any large animal that you might find in your home country e.g. an Elephant, alligator, kangaroo. Any animal that you can do an exaggerated action to, and get the students to do back, works.
Step 3: A Productive Activity That Gets Students Talking
All of this leads onto my next activity where the students put their previous knowledge to use. Preferably this is done through group work but as hard as I might try, getting 40 first grade students to cooperate and organised into groups of four can be a little challenging. If the class has gone very smoothly up to this point then I encourage the students to work in groups, higher proficiency classes have no problem with this. If I’ve noticed that a lot of my instructions have gone over their heads earlier in the lesson then I will allow them to work individually as chances are they will struggle to understand what I’m asking them to do. Your local teacher can come in at this point to explain if you really want them to work together. My main aim is for the students to be having fun so whether they work in groups or individually isn’t so important in this first lesson.

The first part of this activity allows the students to get creative as I ask them to draw a monster. I usually have some examples of monsters (cute ones, I don’t want to scare any six year olds on the first day) up on the board including Nessie and then I will also draw one as the children are drawing to demonstrate what I want them to do. As they are drawing I will walk around the classroom and ask them questions about their monster e.g. “Is it a big monster or a small monster?”, “Is it a girl or a boy?”, “How many eyes does you monster have?” Give the students about 5 – 10 minutes to draw their monster before moving on.
As I mentioned above, any animal works for this activity. I am just lucky enough to have a monster legend in my home country. The aim of this activity is for the students to come up with a name and personality for the monster/animal they have drawn and then be able to talk about it.

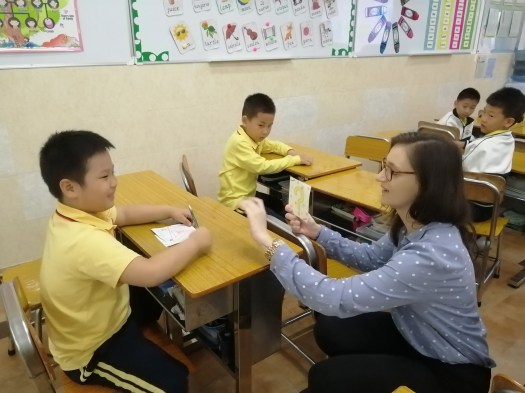
For the second part of the activity invite two or three groups/students up to the front of the class. Have them show their monster to the class and then ask them the same questions you were asking as you walked around the class earlier. If the class is high proficiency (I can’t do this with grade one but I know at least one class that is in grade three now who could easily manage this extension) then you could even get other students to ask questions about the monsters at the front of the class.
I always reward the students who were brave enough to come to the front of the class with a sticker and a high-five.

Step 4: Cool Down
After the mini presentations you need to bring everyone back together into one class rather than lots of little groups which is why a cool down is important. I tend to use a song as my cool down activity as I find it easier to stop a song midway than a game if the bell rings sooner than expected. For this lesson plan I link it back to my vocabulary from step 2 and sing “Baa Baa Black Sheep” with the students.

And that is pretty much how my introduction lessons go for this younger age group. It’s a lot of fun and really helps me to get a handle on the level of each class. I really enjoy adding a bit about Scotland into my lesson and I like to throw in some pictures from home too. This is not the only way to structure an introduction lesson but it works for me and I hope it can give you some inspiration for your first class as an ESL teacher!
I also wanted to mention that a popular activity for introduction classes is to make name tags with your students but I just have too many students for me to include that in my lesson plan. I have to supply my own resources so buying 800 pieces of card is a little out of my budget, especially since the students move seats every week so they are bound to lose them. If you have a smaller class then I definitely recommend name tags though, it’s the fastest way to remember everyone’s names and it worked really well with my classes at the language centre in Myanmar.
If you have any tips for introduction lessons please share them below and feel free to leave any questions in the comments too.
For more TEFL Tips click on one of these:
– My favourite teaching resources

One Reply to “”